Embarking on a journey to enhance your living space with patterned tiles is an exciting endeavor that promises to add character, charm, and elegance to your home. In this comprehensive guide, we'll delve deeper into the art of installing patterned tiles, providing you with a wealth of information and practical tips to ensure not only a visually stunning outcome but also a long-lasting investment in style.
Selecting the Right Pattern
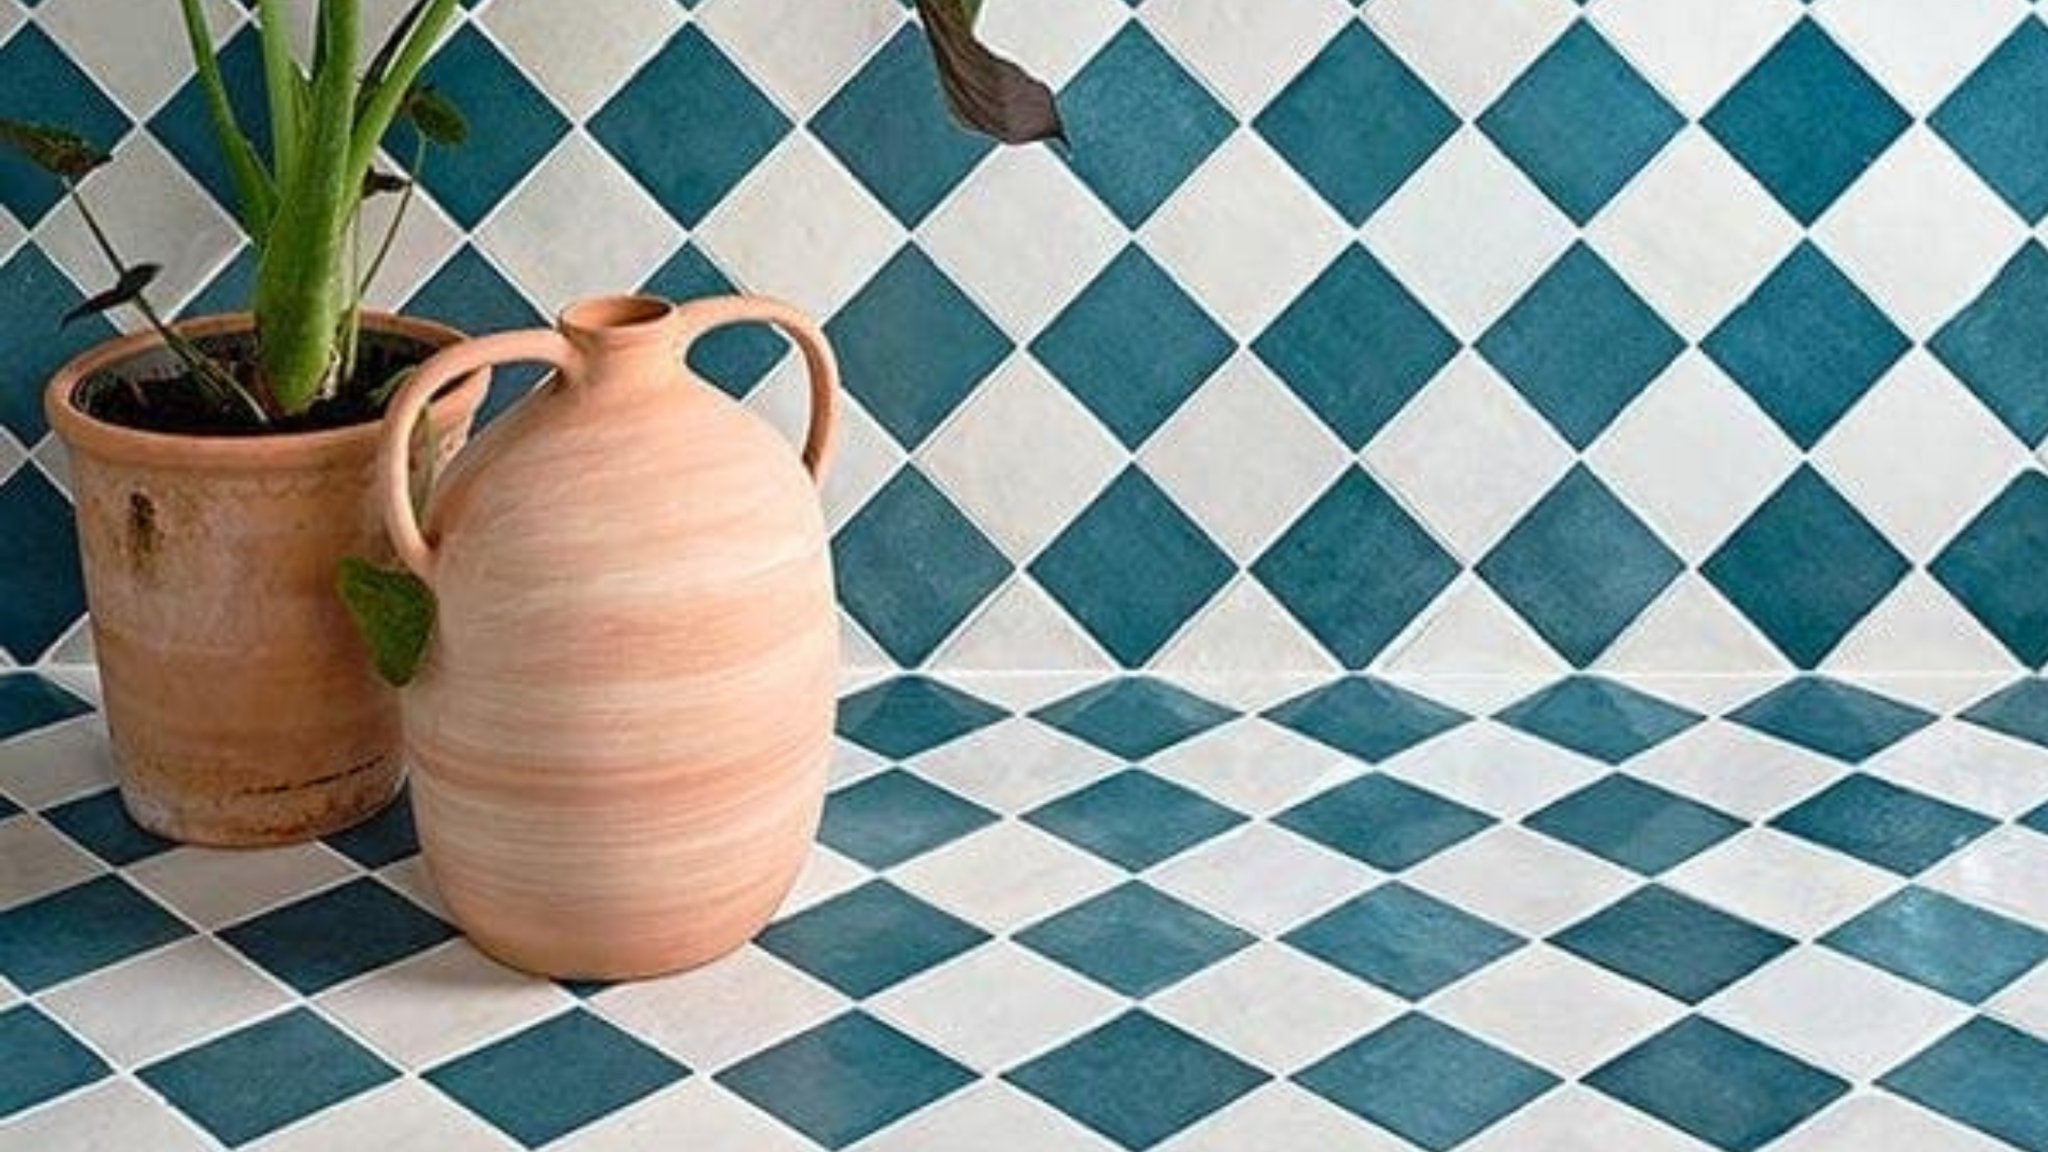
Choosing the perfect pattern is the cornerstone of a successful tile installation. Consider the existing design elements of your home, such as color schemes, furniture, and decor. Whether you opt for geometric shapes, intricate floral motifs, or classic arabesque patterns, make sure the chosen design complements your overall aesthetic. Remember that patterns can create visual interest, highlight focal points, or even make small spaces appear larger.

Choosing High-Quality Tiles
Investing in high-quality tiles is paramount to achieving a sophisticated and enduring result. While porcelain and ceramic tiles are popular choices for their durability, consider factors like water resistance, slip resistance, and maintenance requirements. Consult with your tile supplier to ensure the selected tiles meet the specific needs of each room, especially for high-traffic areas like kitchens and bathrooms.
Planning the Layout
Precision in planning the layout is a crucial step that sets the foundation for a seamless installation. Start by finding the center of the room and work outward to maintain symmetry. Dry-fit the tiles before applying adhesive to visualize the pattern and make necessary adjustments. Take into account the positioning of focal points, doors, and transitions between different flooring materials. This meticulous planning ensures a harmonious and balanced final result.

Prepping the Surface
To ensure the longevity of your tiled masterpiece, it's essential to prepare the surface meticulously. Begin by inspecting the substrate for any cracks, uneven surfaces, or imperfections. Repair and level the substrate as needed, and then apply a high-quality primer to create a strong bond between the tiles and the surface. This preparatory step not only enhances the overall finish but also prevents future issues such as uneven wear and tile displacement.
Investing in Quality Adhesive
Selecting the appropriate adhesive is a critical factor in the success of your installation. The type of tile, substrate, and the intended use of the space all influence the choice of adhesive. Consult with your tile supplier or a professional installer to ensure compatibility. Choosing a premium adhesive guarantees a secure bond, preventing tiles from shifting or loosening over time.

Precision in Cutting and Installation
Achieving a professional-looking finish requires precision in cutting and installing tiles. Invest in a wet saw for accurate cuts, especially around corners, edges, or complex patterns. Take your time during the installation process, ensuring each tile aligns perfectly with the pattern and adjacent tiles. Pay special attention to spacing, and use tile spacers to maintain uniform gaps. This attention to detail ensures a cohesive and aesthetically pleasing result.
Grouting with Care
The choice of grout color and application technique can significantly impact the final appearance of your tiled surface. Consider using a contrasting grout color to emphasize the pattern or a matching color for a seamless, monolithic look. Properly seal the grout to protect it from stains, discoloration, and water damage. Regular maintenance, including resealing, will help preserve the grout's integrity and extend the life of your tiled surface.


