

Small Space Inspiration: How to Transform Compact Rooms with Tiles
Designing a small space can feel like a challenge, but with the right approach, it’s also an opportunity to get creative. Small bathrooms, cloakrooms, kitchens, and hallways often need clever design solutions, and tiles are one of the most versatile tools to achieve them. Not only are they durable and easy to clean, but they also allow you to play with colour, texture, and layout to make a space feel bigger and more stylish.
Even a few simple changes in tiling can dramatically improve the functionality and visual appeal of a room. This guide brings together practical advice, design ideas, and DIY tips to help you get the most out of every square metre.
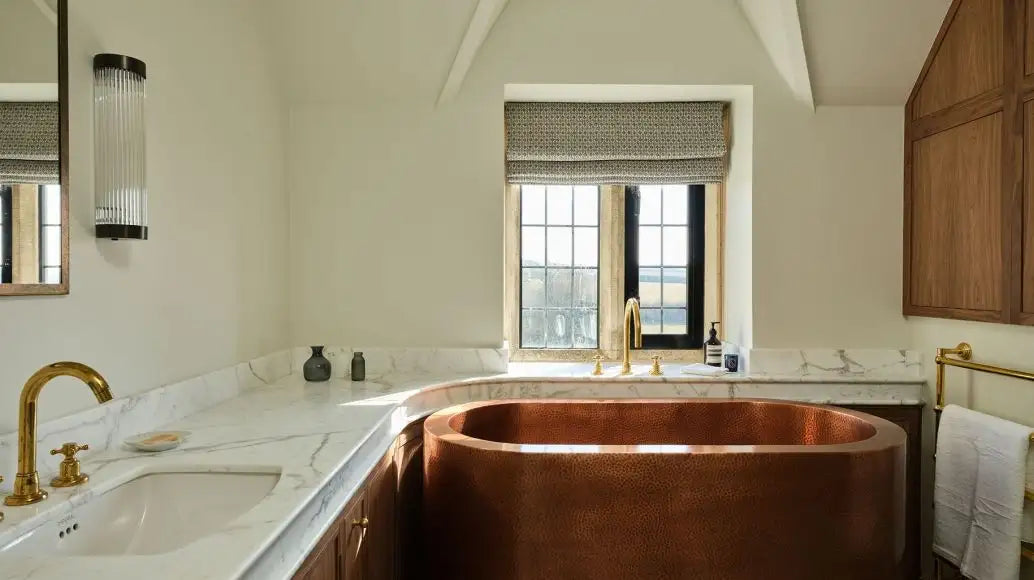
1. Light Colours to Open Up the Space
One of the easiest ways to make a small room feel larger is to choose light, bright colours. Soft whites, creams, and pale greys reflect natural and artificial light, making compact spaces feel airy and open. Even subtle variations of colour, such as off-white or very light taupe, can add warmth without shrinking the room visually.
-
DIY Tip: Position lighter tiles where sunlight falls during the day. A well-placed light-coloured wall or floor tile can amplify natural light and reduce reliance on artificial lighting.
-
Extra Advice: In bathrooms, consider extending light tiles from floor to ceiling. Vertical continuity draws the eye upwards, making the room feel taller and more spacious.

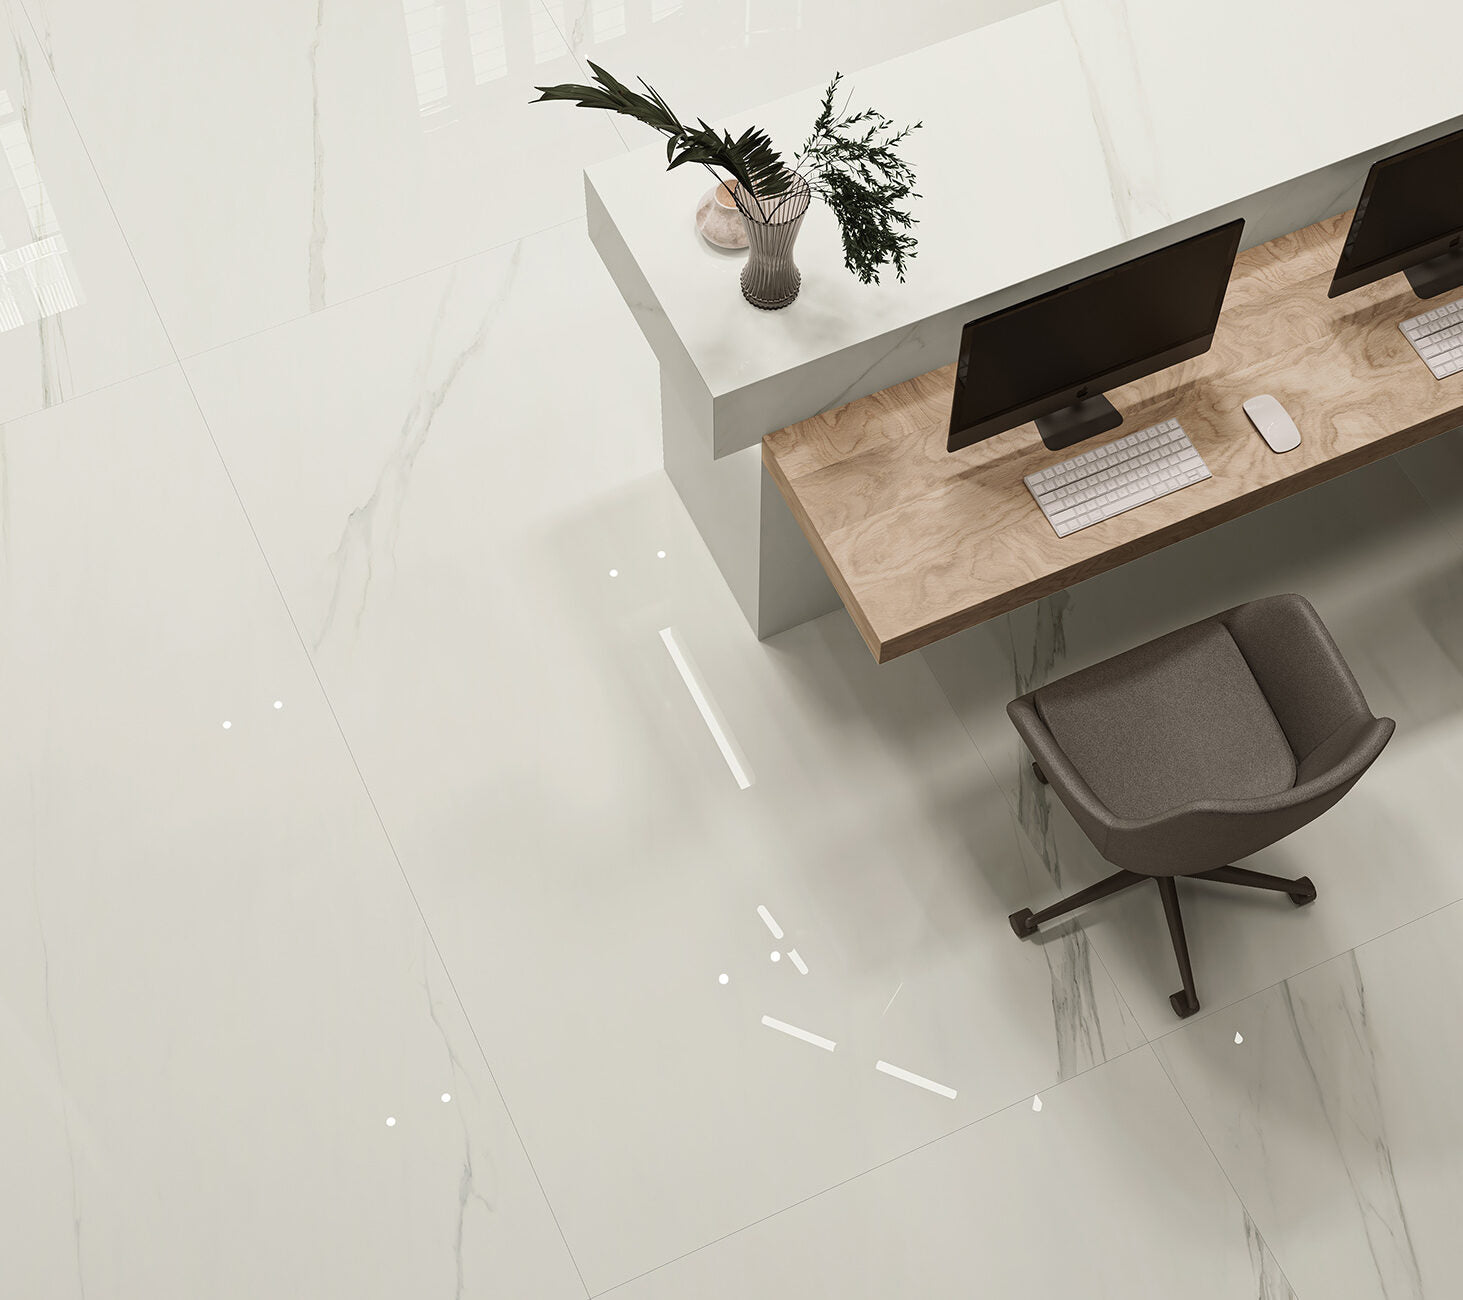
2. Don’t Fear Large Tiles
While small tiles are often associated with bathrooms and kitchens, large-format tiles are excellent for small spaces. Fewer grout lines create a seamless surface, which visually enlarges the room. Large tiles also give a cleaner, more contemporary look.
-
DIY Tip: Large tiles are heavier and require precise installation. Using a levelling system or spacers ensures even placement and prevents “lippage” (uneven edges between tiles).
-
Extra Advice: Pair large tiles with minimalistic fittings and furniture to maintain a clean, open aesthetic. Avoid overcrowding walls or floors, which can make a space feel cramped despite the large tiles.

3. Clever Tile Layouts
The way tiles are laid can transform a small space. Patterns are a subtle but powerful design tool, capable of creating illusions of width, height, or depth.
-
Herringbone or chevron patterns: Draw the eye along the length of the room, ideal for narrow hallways or bathrooms.
-
Vertical stacking: Perfect for walls, vertical tiles make ceilings appear taller.
-
Diagonal placement: Lays diagonally across a floor, adding depth and making the space feel larger.
-
DIY Tip: Dry-lay tiles before gluing. This allows you to see how the pattern works and make adjustments, reducing mistakes and awkward cuts.
-
Extra Advice: Pay attention to symmetry. Small spaces benefit from patterns that are centred or balanced, especially when visible from the doorway.

4. Introduce Pattern for Personality
Patterned tiles are a great way to give a small space character without overwhelming it. Consider bold designs for floors, backsplashes, or feature walls. A carefully chosen pattern can add movement, texture, and a sense of luxury, even in a tiny bathroom or kitchen.
-
DIY Tip: Use patterned tiles as an accent rather than covering entire walls or floors. This creates impact while keeping the overall design simple. For example, a patterned shower niche or backsplash behind a sink can be a striking focal point.
-
Extra Advice: Mix patterned tiles with plain ones to avoid visual clutter. Pair a subtle geometric or floral design with neutral surrounding tiles to keep the room feeling spacious.

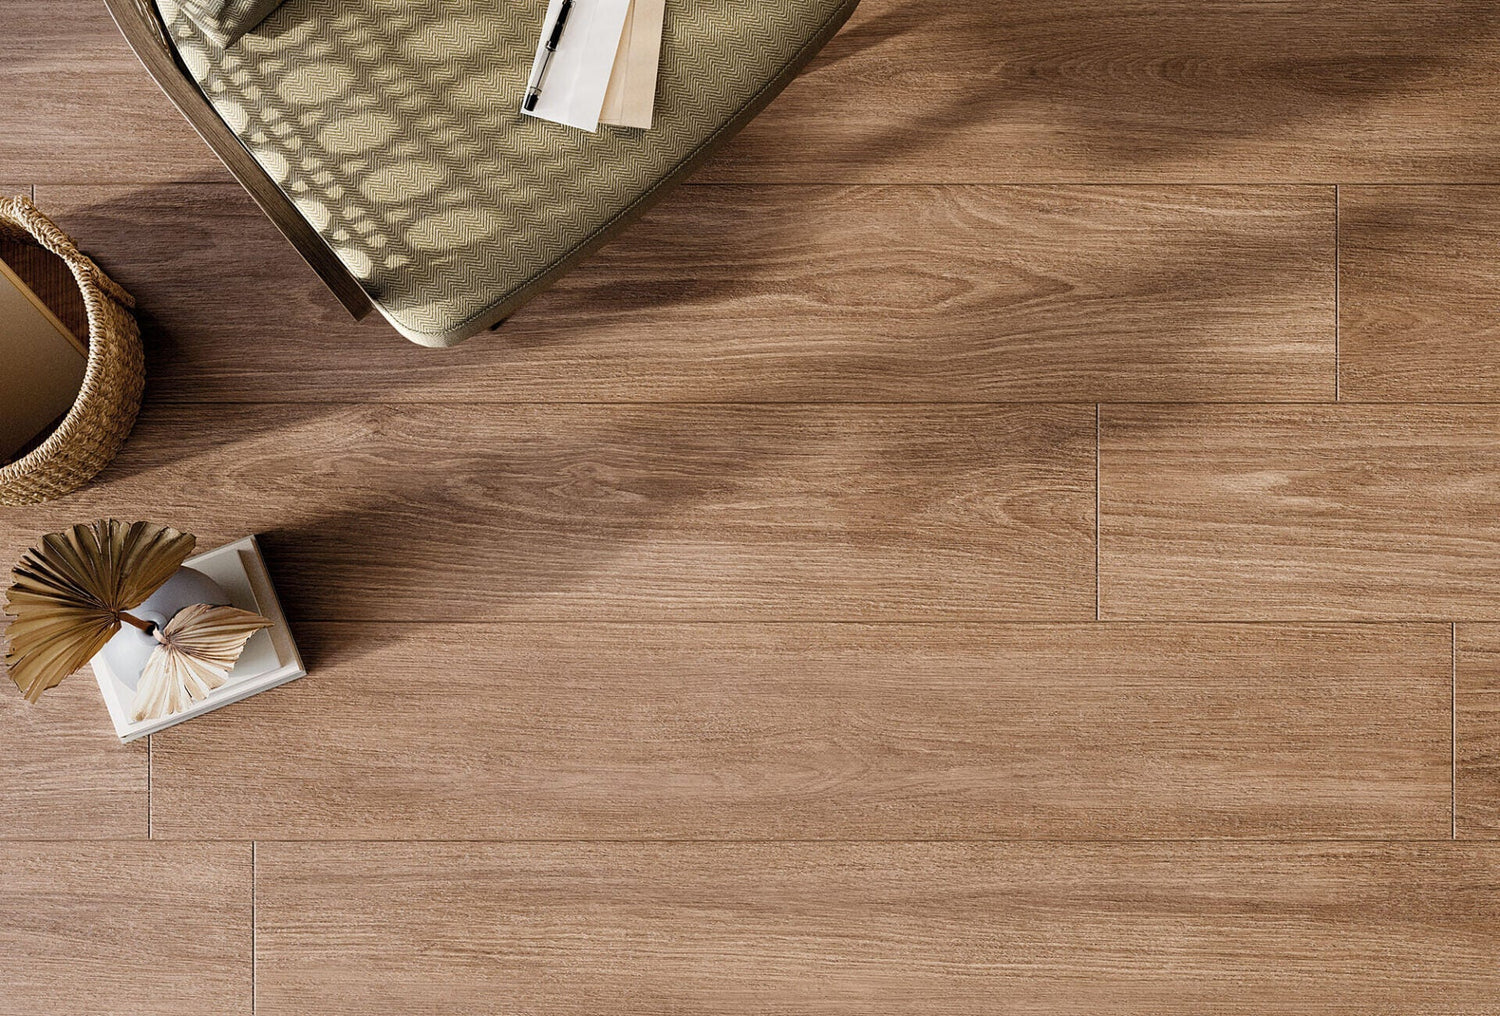
5. Texture Adds Depth
Texture is an often-overlooked way to make a room feel more dynamic. Smooth and glossy tiles reflect light, while matt and stone-effect tiles add tactile depth. Mixing finishes within a small space can create interest without needing contrasting colours.
-
DIY Tip: Clean textured tiles immediately after grouting. Some textures can trap grout haze, which is difficult to remove once it dries.
-
Extra Advice: Consider tactile surfaces on feature areas, like behind a vanity or in a shower, to draw the eye and add dimension to an otherwise flat space.

6. Mind Your Grout
Grout is more than just a filler—it’s a design element. The right colour can enhance the sense of space or define tile patterns.
-
Matching grout: Creates a seamless look and makes small spaces feel larger.
-
Contrasting grout: Highlights the pattern of tiles and can create a stylish, graphic effect.
-
DIY Tip: Seal grout after it dries to protect against stains, water damage, and discolouration. This is essential in high-moisture areas like bathrooms and kitchens.
-
Extra Advice: When working with light grout, avoid applying too much at once; it can leave haze on surrounding tiles. Small, careful sections make cleaning easier.

7. Maximise Space with Smart Details
The finishing touches can make a compact space feel practical, functional, and stylish:
-
Floating shelves and vanities: Open up floor space and make rooms feel less cluttered.
-
Continuous flooring: Extending the same tiles between rooms creates flow and visual continuity, making spaces feel larger.
-
Clean trims: Tidy edges around windows, corners, or splashbacks make a room look polished.
-
DIY Tip: When cutting trims or finishing edges, measure twice and cut carefully. Simple tools like a mitre box or tile cutter can make a big difference in achieving professional results.
-
Extra Advice: Avoid overcrowding surfaces. Even a few well-placed decorative elements or accessories can enhance a space without making it feel cramped.
8. Consider Light and Reflection
Mirrors, glass, and reflective tiles are your allies in small spaces. Shiny surfaces bounce light, making rooms feel brighter and larger. A mirrored splashback or glossy wall tiles can multiply natural light and give a sense of openness.
-
DIY Tip: Pair reflective tiles with strategically placed lighting. LED strips under cabinets or around mirrors enhance the light-bouncing effect and add a modern touch.

9. Think Vertical
In small rooms, vertical space is often underutilised. Tiling walls fully from floor to ceiling draws the eye upwards and maximises the sense of height. Wall-mounted storage or accessories keep surfaces clear, complementing the vertical design.
-
DIY Tip: Use slim, wall-mounted hooks or towel rails in bathrooms and kitchens. They free up floor space and maintain a clean line that works with vertical tiling.
Final Thoughts
Small spaces don’t have to feel limited. With the right tiles, layouts, and DIY approach, you can create rooms that are functional, stylish, and full of personality. Tiles are one of the most flexible design elements—capable of reflecting light, creating illusions of space, and adding texture or pattern.
By paying attention to colour, scale, layout, and details like grout and trims, even the tiniest bathroom, cloakroom, or kitchen can feel luxurious and spacious. Small spaces are an opportunity to be bold, creative, and clever with design—and with a little planning and patience, the results can be transformative.
Tiles give you the ability to combine practicality with style. Whether you’re tackling a DIY project or planning a professional installation, thoughtful tile choices make a big difference in compact spaces.