The Ultimate Guide to Tile Arrangements: Benefits and DIY Tips
Tile arrangements can significantly influence the aesthetics and functionality of a space. Whether you are updating your kitchen backsplash, redoing your bathroom floor, or installing a new patio, understanding different tile patterns can help you make the best choice for your project. In this blog post, we'll explore various tile arrangements, their benefits, and provide some handy DIY tips to ensure your tiling project is a success.
1. Straight Lay (Grid Pattern)
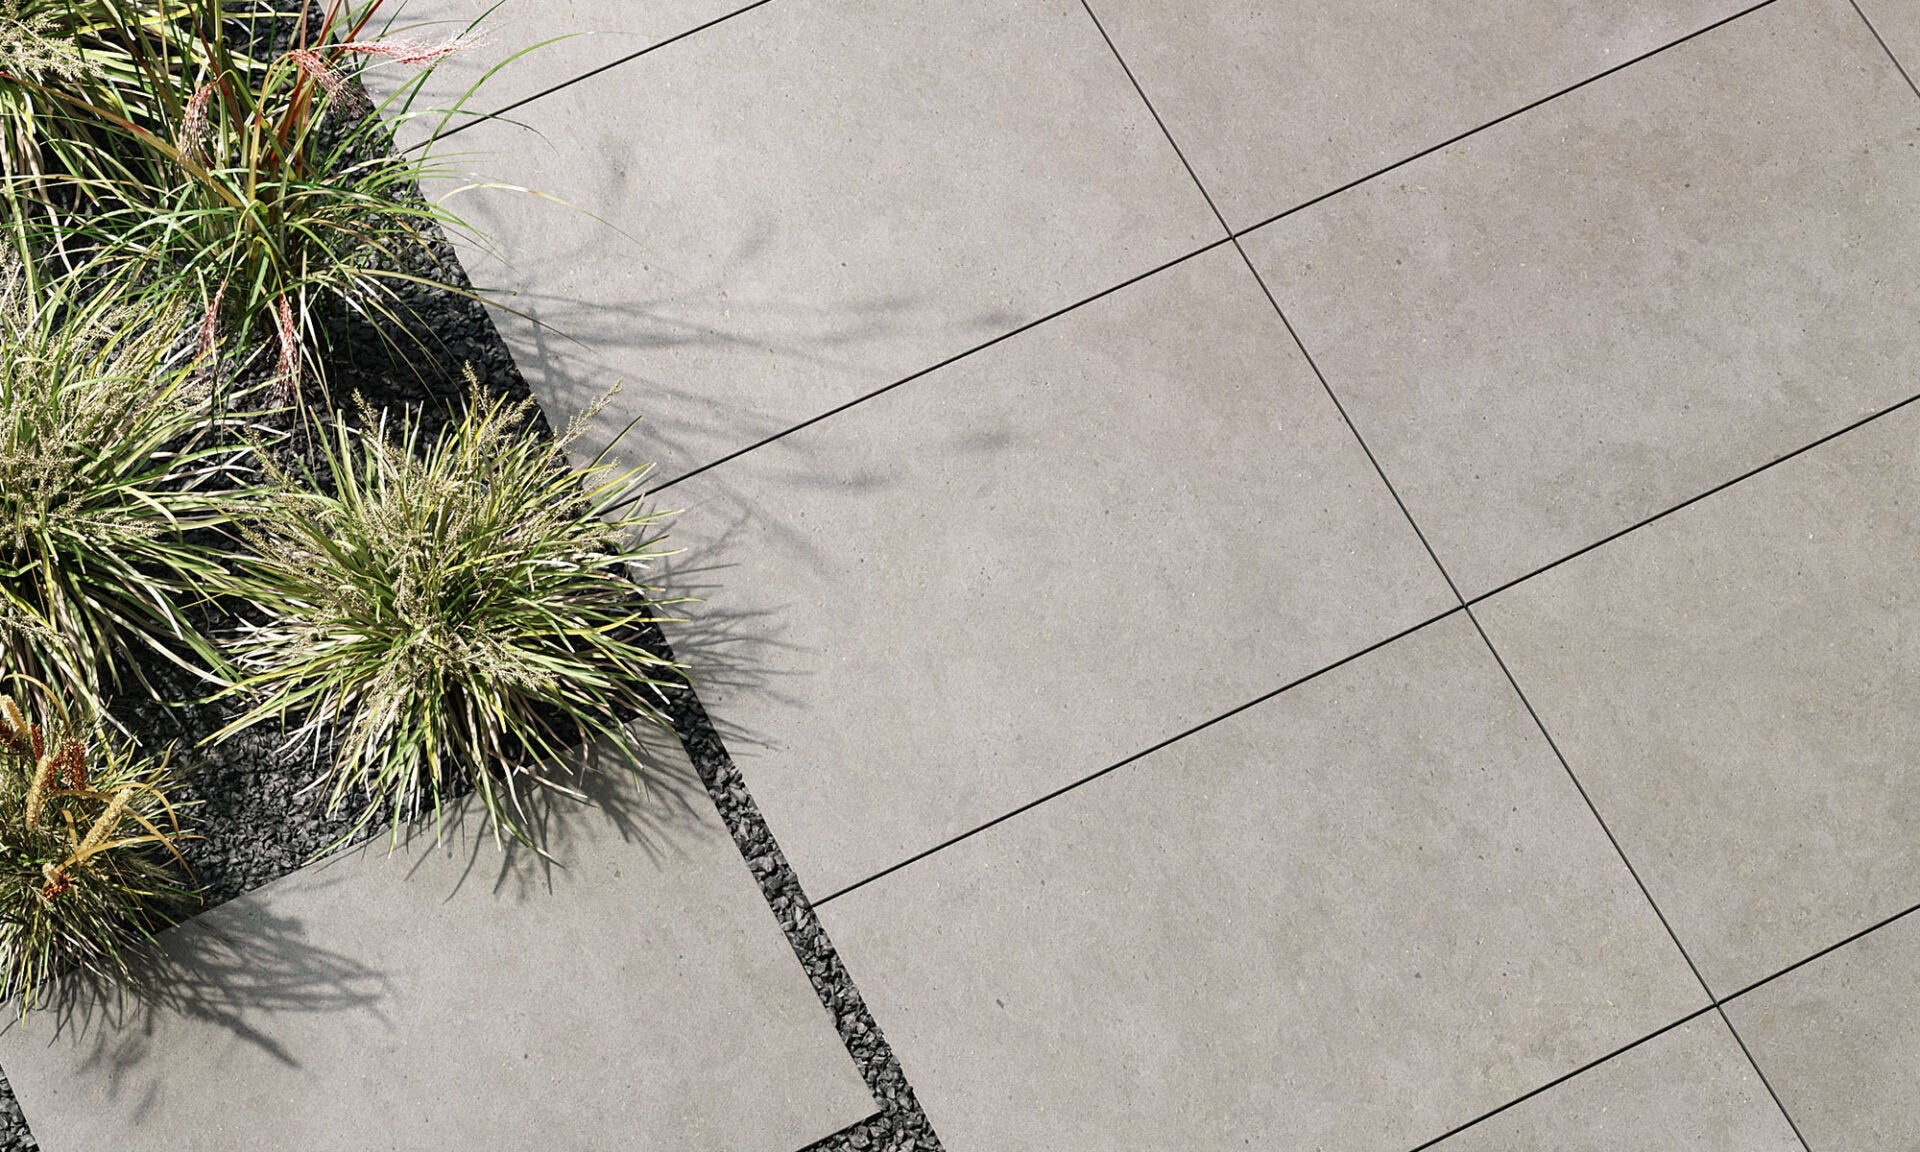
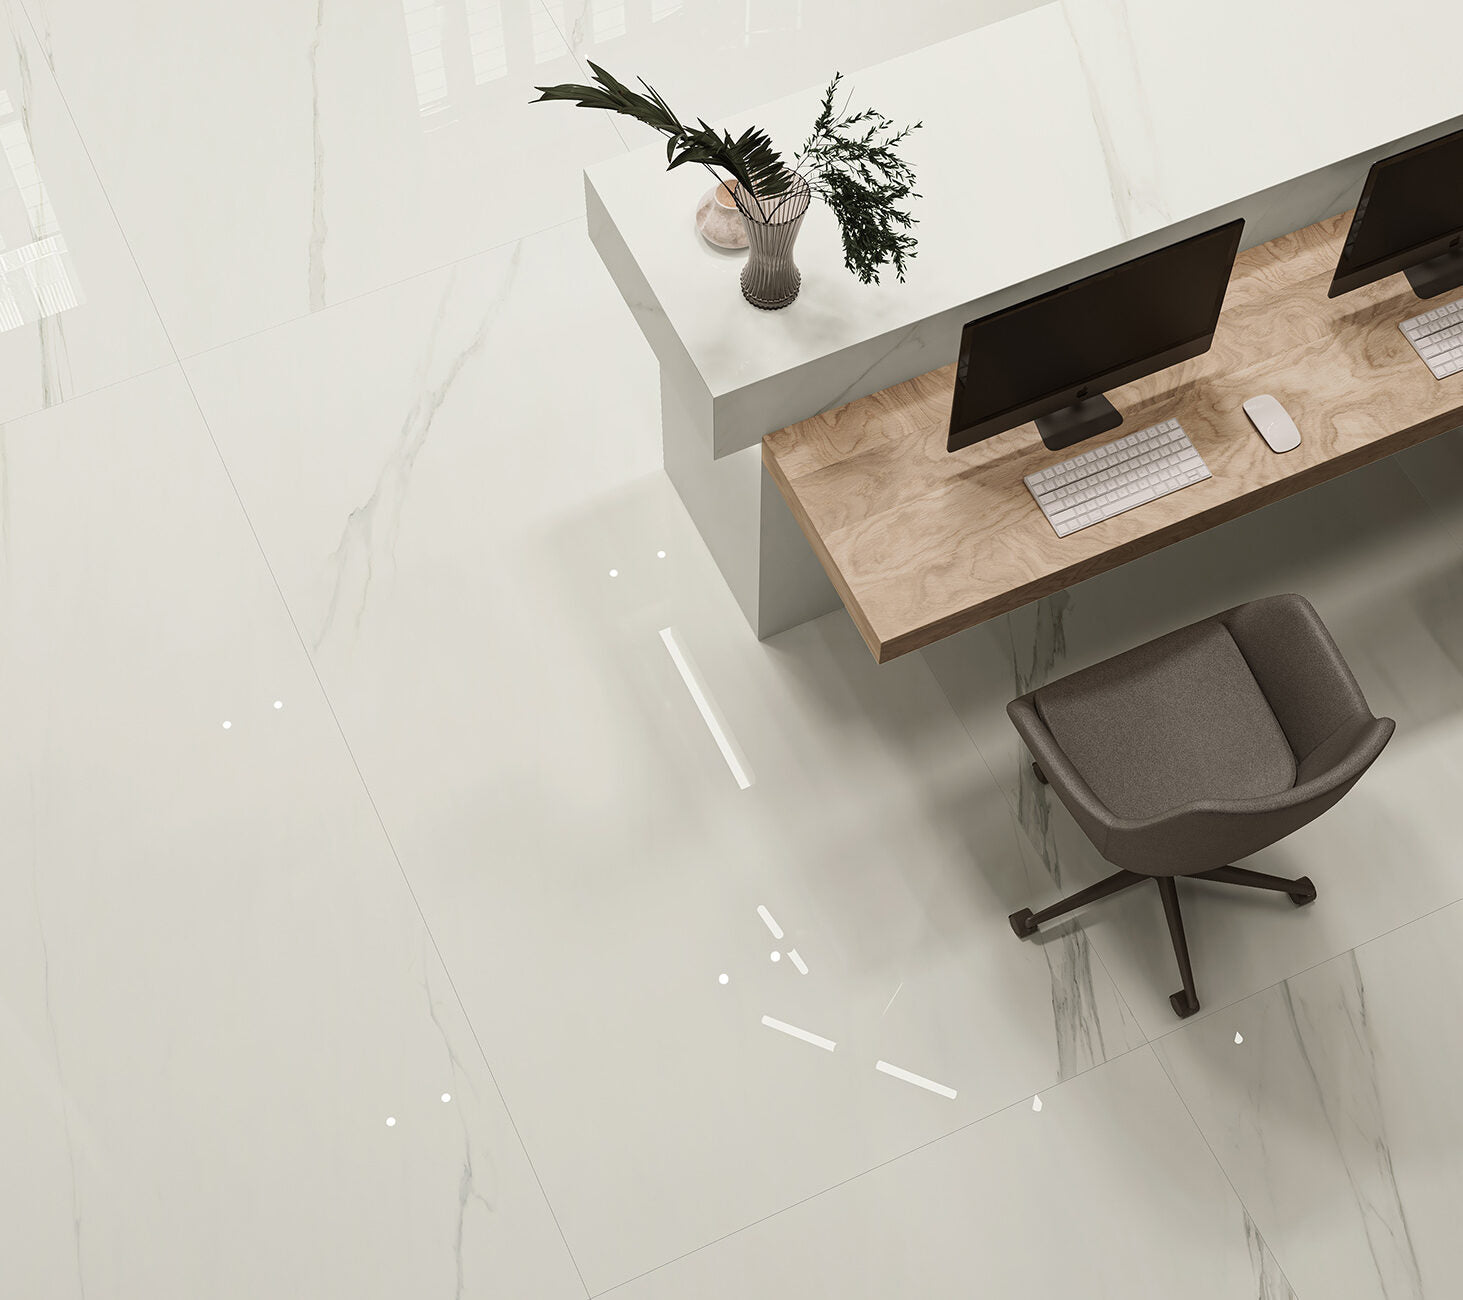
The straight lay pattern is the most straightforward tile arrangement. Tiles are laid out in a simple grid with all corners aligning. This pattern is highly beneficial due to its simplicity and versatility, making it easy to install and suitable for any space, from floors to walls. Additionally, the straight lay pattern involves minimal cutting, which reduces material waste. For a successful DIY project, start by measuring the area and marking the center. Lay out a few tiles dry to see how they fit, and use spacers to ensure uniform grout lines for a professional finish. Regularly check your alignment with a spirit level to maintain straight rows.

2. Diagonal (Diamond) Pattern
The diagonal pattern involves laying tiles at a 45-degree angle to the walls, creating a diamond effect. This arrangement is excellent for making small rooms appear larger, adding visual interest, and disguising imperfections better than straight lay patterns. Be prepared for more cutting and ensure you have a quality tile cutter. Start from the center and work outwards, planning your cuts in advance to avoid small, awkward pieces at the edges. Patience is key with this layout, as taking your time ensures a balanced and visually appealing result.

3. Running Bond (Brick) Pattern
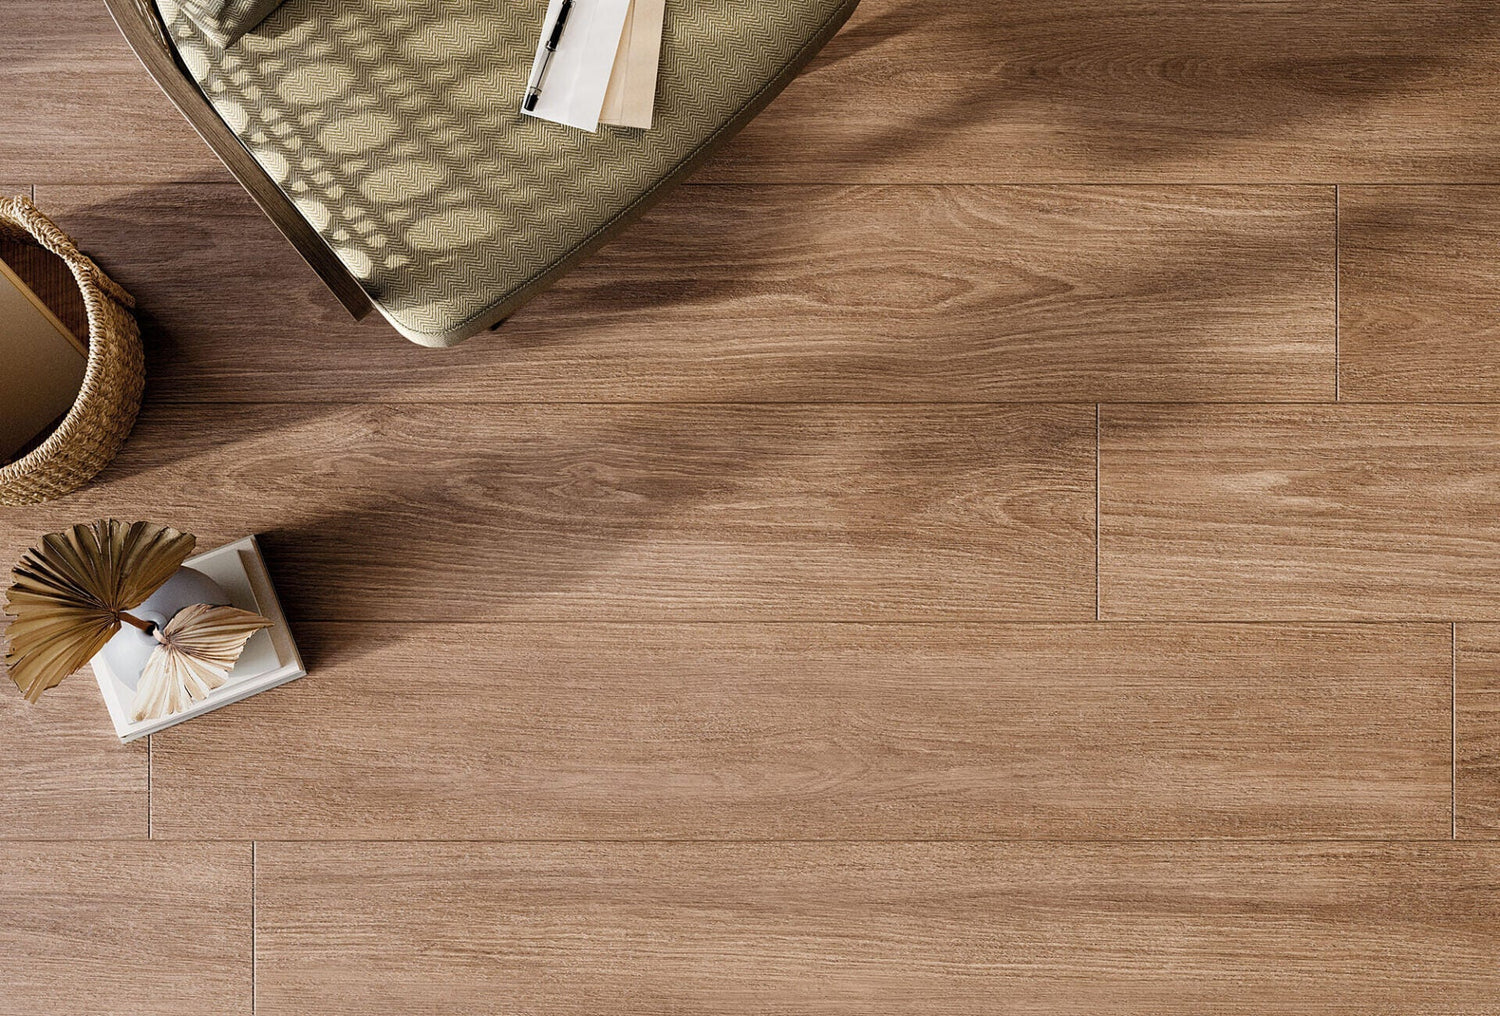
The running bond, or brick pattern, staggers tiles similar to how bricks are laid, with each row offset by half a tile. This classic look is suitable for various styles, offering timeless appeal and durability. The staggered pattern distributes weight more evenly, reducing the risk of cracks, and is great for hiding minor wall or floor imperfections. To achieve this pattern, use a guide to maintain a consistent offset for each row and keep grout lines consistent for a clean finish. Laying tiles dry first helps visualize the pattern and make necessary adjustments.

4. Herringbone Pattern
In the herringbone pattern, rectangular tiles are laid in a zigzag design, creating a V-shaped weave. This elegant design adds sophistication and style, making it an eye-catching focal point that adds texture to any surface. The herringbone pattern is versatile, suitable for floors, walls, and backsplashes. Begin with a smaller area, like a backsplash, to get used to the pattern. Use cardboard templates to help visualize and maintain the pattern, and pay extra attention to aligning the tiles correctly to maintain the herringbone effect.

5. Basket Weave Pattern
The basket weave pattern arranges square and rectangular tiles to mimic the look of woven fabric. This unique look offers a distinct, decorative appearance, adding complexity and texture to any space. The pattern works well with different tile sizes and colors for a custom look. Experiment with different tile colors and sizes to find a combination you like. Ensure your tiles are precisely cut to fit the pattern seamlessly, and lay out the pattern on a dry surface first to understand the arrangement before applying adhesive.

6. Chevron Pattern
The chevron pattern is similar to the herringbone but features a continuous zigzag design where tiles meet at a perfect point. This modern appeal provides a sleek, contemporary look, creating a sense of movement and flow, making it ideal for feature walls or standout floors. Ensure your tiles are cut precisely to form perfect points, and plan your layout carefully to maintain symmetry. Use a strong adhesive to keep the tiles in place, especially on walls.

Conclusion
Choosing the right tile arrangement can transform your space, making it more beautiful and functional. Each pattern offers unique benefits and can cater to different design preferences and practical needs. With careful planning and attention to detail, even DIY enthusiasts can achieve professional-looking results. Remember to measure accurately, use the right tools, and take your time to ensure a flawless finish. Happy tiling!


