5 Layout Patterns That Instantly Elevate a Simple Tile
Tiles are one of the most versatile design tools you can use in your home. A simple, plain tile might look modest in a sample box, but the way you choose to lay it can completely transform a room. Layout is the unsung hero of tile design — it changes the sense of scale, creates rhythm, and adds visual interest without needing bold colours or patterns.
Here are five classic layout patterns that can elevate even the simplest tile, complete with practical tips if you’re thinking of tackling the project yourself.
1. Herringbone
The look:
The herringbone pattern has a timeless, tailored quality. When tiles are laid at 45 degrees in a zig-zag formation, they create instant movement and rhythm. This style is often associated with parquet flooring but works beautifully with tiles on both walls and floors. In small kitchens or hallways, it can add sophistication without overwhelming the space; in larger rooms, it feels grand and luxurious.
How it visually enhances your home:
-
Adds energy: The diagonal flow draws the eye and creates a sense of movement.
-
Expands space: Works especially well in narrow areas (like galley kitchens or corridors) by breaking up straight lines.
-
Feels designer: Even budget-friendly tiles look high-end when arranged in herringbone.
DIY tips:
-
Always strike a central line — the “V” shape should start in the middle of the space for balance.
-
Dry-lay a section before committing, as edges will create triangular cuts. Adjust the starting point to avoid slivers.
-
Consider contrasting grout if you want to emphasise the zig-zag, or tonal grout for subtle elegance.

2. Basketweave
The look:
Basketweave creates a woven textile effect using small rectangular tiles, often interspersed with squares. The result feels detailed and intricate, with a sense of heritage craftsmanship. It suits period properties or traditional interiors but can be modernised with crisp white or neutral tones.
How it visually enhances your home:
-
Adds texture: The interlocking look gives subtle depth and detail.
-
Brings character: Perfect for cloakrooms or utility rooms where you want a hint of pattern.
-
Heritage charm: Evokes old-world craftsmanship but adapts well to contemporary settings with the right tile choice.
DIY tips:
-
If you’re new to tiling, opt for basketweave mosaic sheets — they come pre-mounted and make spacing easier.
-
Keep a close eye on grout joints; misaligned tiles show quickly in this pattern.
-
A soft grout colour enhances the woven look, while strong contrast makes the weave bolder.

3. Vertical Stack
The look:
This is one of the most minimalist, modern layouts — tiles are stacked directly on top of each other in clean vertical lines. It creates height and order, making spaces feel streamlined and architectural.
How it visually enhances your home:
-
Elongates walls: Perfect for small bathrooms, as it makes ceilings appear taller.
-
Modern edge: Immediately feels contemporary compared to the traditional horizontal brick bond.
-
Clean symmetry: Works especially well with glossy tiles, as the light enhances the sharp, uniform lines.
DIY tips:
-
Use a laser level — stacked layouts will show even the slightest unevenness.
-
Keep grout joints fine and consistent to maintain the sleek look.
-
Works best with slim or elongated tiles for maximum visual impact.

4. Chevron
The look:
Often confused with herringbone, chevron tiles are cut at an angle so they meet perfectly to form continuous arrows. The result is sharper and more uniform than herringbone — bold, striking, and ideal for a feature wall or floor.
How it visually enhances your home:
-
Creates drama: Strong, angular lines that instantly make a statement.
-
Flows beautifully: Looks stunning with marble or wood-effect tiles, as the natural veining appears to run seamlessly.
-
Feature-ready: Ideal for a kitchen splashback, hallway runner, or bathroom feature wall.

DIY tips:
-
Choose pre-cut chevron tiles if possible — cutting precise angles yourself can be challenging.
-
Lay out a dry run to check that points align neatly; this pattern relies on perfect symmetry.
-
Keep grout narrow to accentuate the continuous flow.
5. Offset Brick Bond
The look:
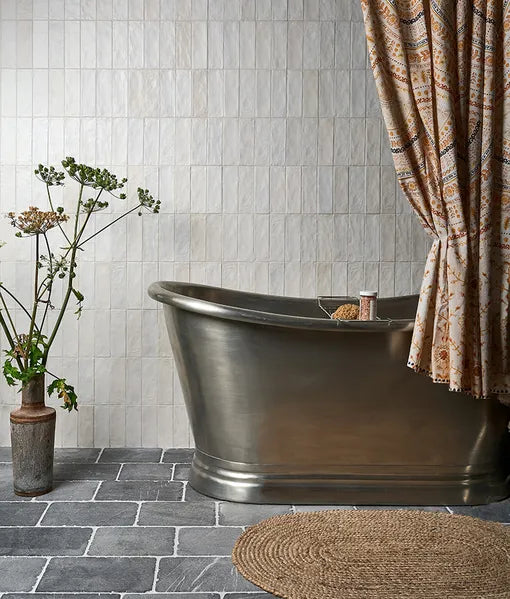
Perhaps the most familiar layout, brick bond (or running bond) is where each row is offset by half a tile. It’s versatile, forgiving, and works with almost any rectangular tile. For longer formats, a one-third offset is often recommended to prevent uneven edges.
How it visually enhances your home:
-
Timeless: A classic look that never dates.
-
Soften symmetry: The staggered rhythm feels natural and balanced.
-
Versatile: Works in almost every room — from bathrooms and kitchens to hallways and utility spaces.
DIY tips:
-
Dry-lay a few rows to check for edge cuts. Avoid finishing with narrow slivers.
-
Use spacers to keep joints even; the stagger hides small variations well, making it forgiving for beginners.
-
Consider coloured grout — grey or even a pastel shade — to add a design-led finish to a basic tile.

Final Thoughts
Tiles are more than just a surface covering; they’re a design tool that can shape how a room feels. By playing with layout, you can take a simple tile and make it look dynamic, detailed, modern, dramatic, or timeless. Whether you’re refreshing a splashback, creating a feature wall, or tiling an entire floor, the pattern you choose has just as much impact as the tile itself.
If you’re tackling the project yourself, take time to plan your layout carefully, use spacers and levels, and always dry-lay a section before you start. The extra preparation pays off — helping you achieve a finish that feels not just DIY, but truly designer.


